Creating an explainer video is really about telling a story. You need a solid plan, a tight script, some eye-catching visuals, and the right audio to bring it all together. The whole point is to take something potentially complicated and boil it down into a simple, engaging message that someone can grasp in less than 90 seconds.
Why Explainer Videos Actually Work

Before we get into the “how,” it’s important to understand the “why.” Explainer videos aren’t just a passing marketing trend; they’re a seriously effective communication tool because they tap into how our brains actually process information. They slice right through the noise of text-heavy websites and long, rambling sales pitches to deliver a clear message that sticks.
Just think about it: would you rather read a 1,000-word article about a new piece of software or watch a 60-second video that shows you exactly what it does? Most of us would pick the video every time. That preference is exactly why a whopping 96% of marketers say videos help people understand their products or services better.
The Psychology Behind Their Success
Explainer videos work because they hit us with both sound and visuals at the same time, which dramatically boosts how much information we retain. When someone watches your video, they’re far more likely to remember your brand and what you’re about.
Video content is especially good at:
- Simplifying Complexity: Animation can take abstract ideas, like how a complex financial tool works, and make them feel tangible and easy to follow.
- Building Trust: A well-produced video sends a signal that you’ve invested time and effort into communicating clearly. That alone builds credibility with your audience.
- Grabbing Attention Fast: In a world where attention spans are shrinking by the second, a dynamic video can hook a viewer right from the start.
The industry’s explosive growth really tells the story here. Back in 2023, the explainer video software market was already valued at around USD 1.2 billion. It’s projected to skyrocket to USD 6.7 billion by 2033. The momentum is undeniable.
Key Takeaway: The real magic of an explainer video is its ability to tell a compelling story. It follows a simple, powerful formula: introduce a problem your viewer can relate to, present your product as the clear solution, and then show them what a better future looks like.
A Cornerstone of Modern Marketing
Ultimately, a great explainer video isn’t a one-and-done asset. It’s a versatile workhorse you can use across your entire marketing world—from your website’s homepage and email campaigns to your social media feeds.
To really get the most out of them, they should be part of a bigger plan. Dropping a killer video into a well-defined social media content strategy playbook ensures it hits the right audience at just the right moment, turning casual viewers into loyal customers.
Building Your Video Blueprint Before You Animate

A great explainer video isn’t born in an animation tool; it starts with a rock-solid plan. It’s a classic rookie mistake to jump straight into designing scenes. Do that, and you’ll almost certainly end up with confusing, ineffective content. Before you even think about touching a template, you need a blueprint that guides every single decision.
Think of it as laying the foundation for a house. If you skip this part, the whole structure will be wobbly. This foundational work gives your video a clear purpose and ensures it’s engineered to hit a specific business goal.
Who Are You Talking To?
First things first: you have to get laser-focused on who you’re talking to. “Everyone” is not an audience. Are you speaking to a swamped marketing manager, a passionate non-profit donor, or a nervous first-time car buyer? Each one has wildly different problems, motivations, and what they already know.
To dial it in, ask yourself these questions:
- What’s their biggest headache? Frame your entire video around the problem they are actively trying to fix.
- What do they already know about solutions like yours? This tells you if you need to start with the 101 basics or if you can dive into more specific features.
- What kind of language do they use? Your script needs to sound like it’s coming from someone they’d trust, not a corporate robot.
Getting these answers right helps you create a video that truly connects instead of just feeling generic.
What’s Your One Big Idea?
With your audience in mind, the next job is to boil your message down to its absolute essence. If a viewer could only remember one thing from your video, what would it be? That single, powerful sentence is your north star.
For instance, a fintech app’s core message might be: “Our app helps you save money automatically without changing your lifestyle.” Everything in the video—from the script to the visuals—should support and reinforce this central idea.
Trying to say too much is a surefire way to say nothing at all. A focused message is a memorable message.
What Do You Want Them To Do?
Finally, what action do you want the viewer to take after watching? A video without a clear goal is just entertainment. Your objective has to be specific and, just as importantly, measurable.
Here are a few common goals for explainer videos:
- Boost Demo Sign-Ups: The video ends with a clear call-to-action (CTA) to book a personalized demo.
- Explain a Complex Feature: The goal here is to slash support tickets by showing users exactly how to use a tricky part of your product.
- Drive Direct Sales: The CTA leads them straight to a product page or checkout.
To make sure your blueprint is solid before moving on, it helps to summarize these core components.
Key Planning Elements for Your Explainer Video
A quick summary of the essential components to define before starting your video production to ensure a focused and effective final product.
| Element | Key Question to Answer | Example |
|---|---|---|
| Target Audience | Who is this video for? | Busy small business owners who are not tech-savvy. |
| Core Message | What is the one thing they must remember? | “Our software simplifies your invoicing in just 5 minutes a week.” |
| Primary Goal | What action should they take after watching? | Start a 14-day free trial. |
This kind of strategic planning is absolutely essential. In fact, explainer videos are a go-to for 73% of video marketers precisely because their focused structure is so good at converting viewers. Keeping them short and sweet—ideally between 60 and 90 seconds—is the secret to holding attention and making an impact.
Once you have these three pillars locked in—audience, message, and goal—you’re ready for the next phase. This blueprint will inform everything from your script to your visual style, which is crucial when you start creating a storyboard for your animated video.
Writing a Script That Connects and Converts

If your video plan is the foundation, the script is the entire frame of the house. It’s the single most critical element that guides the flow, tone, and ultimately, the success of your entire project.
You can have the most dazzling animation in the world, but a weak script will sink it every time. On the flip side, a rock-solid script can turn a simple video into a powerhouse for conversions. The goal isn’t just to list features; it’s about telling a compelling story that connects with the audience you worked so hard to define.
The Problem Solution Benefit Formula
This classic three-act structure is the secret sauce behind almost every great explainer script. It’s so effective because it taps into how we naturally make decisions: we feel a pain point, we look for a fix, and we weigh the positive outcomes.
Here’s how it breaks down:
- Act 1: The Problem. Kick things off by hitting on a problem your audience knows all too well. Use their language to show you get their struggle. For a project management tool, you might start with something like, “Tired of deadlines slipping through the cracks and drowning in endless email chains?”
- Act 2: The Solution. Now, introduce your product as the hero. This is your moment to say, “Meet [Your Product], the simple way to keep your team’s projects on track.” You’re not listing every feature—just briefly explaining how it solves the problem you just laid out.
- Act 3: The Benefit. Don’t stop at what your product does. Show them what life looks like after they use it. It’s all about painting a picture of a better future. For our example, this could be, “Now you can finish projects on time, slash team stress, and get back to doing the work that really matters.”
This formula just works. It puts the customer’s needs front and center, making your solution feel like the obvious answer to their frustrations.
Keeping Your Script Conversational
Remember, your script is meant to be heard, not read in an academic journal. The best trick in the book? Read every single line out loud while you’re writing. Seriously. Does it sound like something an actual human would say?
Pro Tip: Keep it simple. Use short sentences and everyday words. Ditch the jargon and corporate buzzwords. Your goal is to connect, and complicated language just builds a wall between you and your viewer.
Try to imagine you’re explaining your product to a friend over coffee. That’s the exact tone you should be aiming for. It makes your brand feel more approachable and trustworthy.
Pacing for a 60-90 Second Video
The sweet spot for an explainer video is a tight 60 to 90 seconds. This isn’t a lot of time, which means every single word has to fight for its spot in the script.
As a general rule, a 90-second script will land somewhere between 180 and 240 words.
To make sure you’re hitting the mark, time yourself reading the script aloud at a natural, comfortable pace. Be ruthless. Cut anything that doesn’t directly serve your core message. For a deeper dive with templates and more examples, check out our guide on how to write an explainer video script. It’ll help you shape your message into a script that’s ready for production and built to get results.
Bringing Your Story to Life with Visuals
With a solid script in hand, you’re ready for the fun part—turning those words into a dynamic, visual story. This is where your message really starts to come alive and get some personality.
But you can’t just jump straight from script to screen. You need a bridge, and that bridge is the storyboard. It’s a vital step that helps you map out your video scene by scene, ensuring your visuals perfectly match what’s being said.
Trying to animate without a storyboard is like trying to build a house without blueprints. You might end up with something, but it probably won’t be what you pictured. A good storyboard saves you a massive amount of time later by forcing you to make all the key visual decisions upfront.
Sketching Out Your Storyboard
You don’t need to be an artist for this. Seriously. The goal here is clarity, not a masterpiece. Simple stick figures and basic shapes are all you need. For each key idea in your script, you’ll sketch out a corresponding visual panel.
Think of it like a comic book version of your video. Each little box should answer a few basic questions:
- What’s happening? Is a character pointing to a chart? Is a graph line going up?
- What text needs to be on screen? Are you highlighting a key statistic or a benefit?
- How does this scene connect to the next one? Think about the transition. Will it be a simple cut, or will one element morph into the next?
This process helps you get a feel for the flow and pacing. You might realize a section of your script feels a bit slow or that a visual you had in mind is way too complicated. It’s much easier to fix these things with a pencil and paper than it is once you’re deep in the animation software.
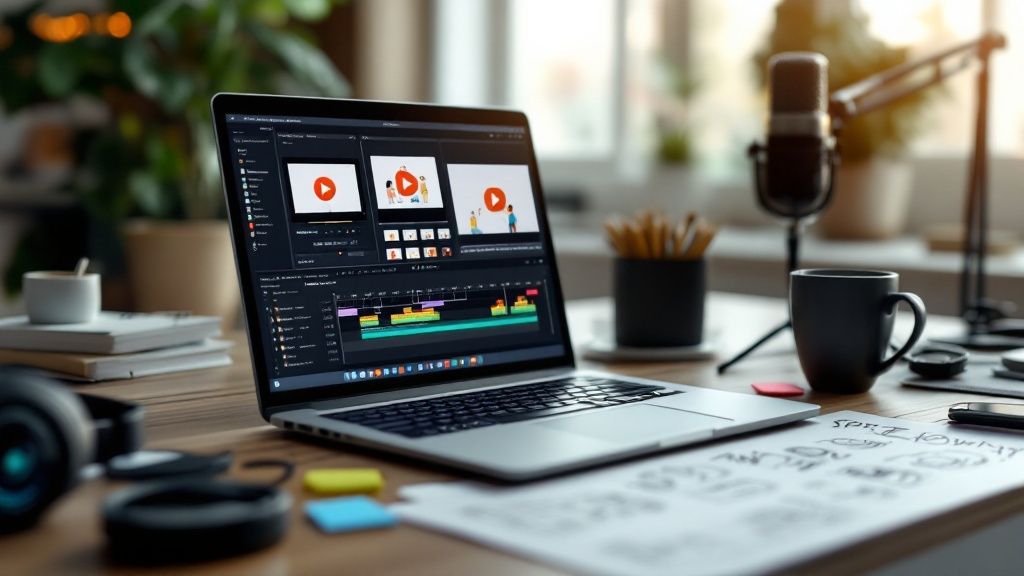
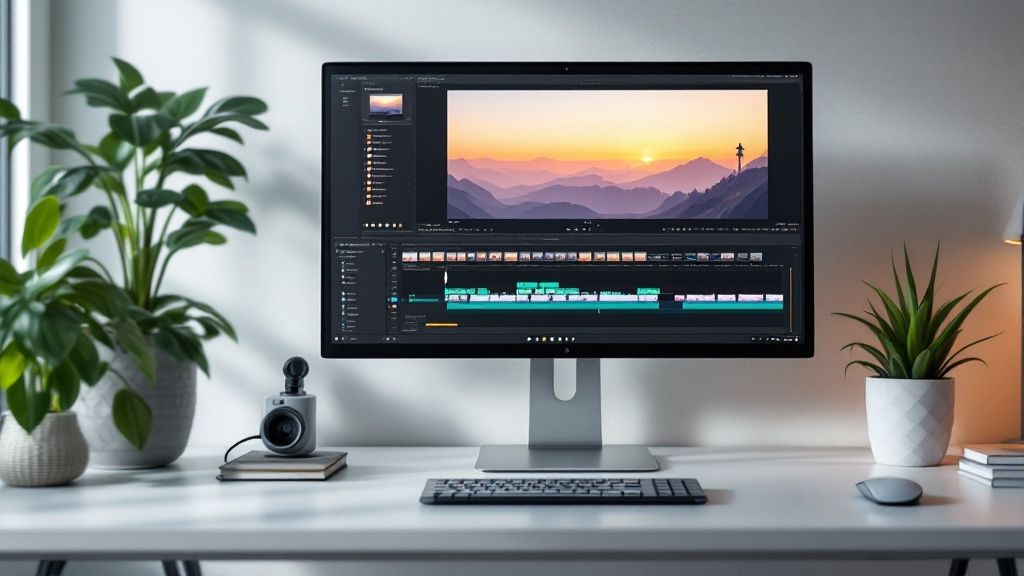
Animating Your Scenes in Wideo
Once your storyboard feels right, it’s time to bring it to life. This is where a tool like Wideo really shines, especially if you don’t have a background in design. It’s built to be intuitive, replacing a steep learning curve with simple drag-and-drop functionality.
Here’s a practical way to approach it:
- Start with a Template: Don’t start from scratch. Find a template that matches the general vibe of your brand. Wideo has a huge library sorted by industry and use case, giving you a professional-looking foundation right out of the gate.
- Customize Your Assets: Swap out the template’s colors, logos, and fonts with your own. You can also customize characters to better represent your audience by changing their clothes, actions, and expressions to fit your script.
- Animate Scene by Scene: Working directly from your storyboard, build out each scene. Drag characters, icons, and text onto the stage. Use the timeline to control when each element appears, moves, and disappears, making sure the on-screen action is perfectly synced with your narration.
Key Insight: The best animations enhance the script, not compete with it. If your voiceover is explaining a complex point, keep the visuals simple and focused. If the narration is more general, you can use more dynamic visuals to keep people hooked.
Aligning Visuals with Your Message
The real magic happens when your visuals and your script work in perfect harmony. Every single animation should have a purpose.
For example, if your script says, “Our software boosts productivity by 30%,” you need a visual that hammers that number home. Maybe it’s a graph ticking upward or the number 30% appearing bold and center on the screen.
This synchronization is everything. When what people hear matches what they see, they remember the information so much better. Your goal is to create a seamless experience where the visuals don’t just decorate the script—they help tell the story, making your message clearer, more engaging, and way more memorable.
Mastering Your Video’s Sound and Polish
Visuals might be what initially grabs someone’s attention, but it’s the audio that truly holds it. You can have the most brilliant animation in the world, but if the sound is tinny, muffled, or just plain bad, the whole thing will feel amateurish. On the flip side, great audio can make even simple visuals feel incredibly professional and polished.
This final layer of sound design is where your explainer video really comes together.
Nailing the Narration
The narrator’s voice is the guide leading your audience through the story, so getting it right is a must. You could record it yourself, but capturing clean, crisp audio without annoying background noise or a weird echo is tougher than it looks unless you have the right gear.
For a much cleaner result, many creators choose to hire a professional voiceover artist. This guarantees a high-quality recording that perfectly matches the tone you’re going for, whether you need it to sound energetic and exciting or calm and reassuring. It’s an investment, but one that pays off big time in the final product.
Selecting the Right Music
Background music is your secret weapon for setting the emotional tone. An upbeat, optimistic track can make your solution feel fresh and exciting, while a calmer, more thoughtful piece can build a sense of trust and reliability.
When you’re picking a track, keep a few things in mind:
- Does it match the mood? Make sure the music’s energy lines up with the message you’re sending.
- Is it distracting? The music should support the narration, not compete with it. Instrumental tracks are almost always a safer bet than songs with lyrics.
- How’s the volume? The music should be subtle—a background element that viewers feel more than they actively hear.
Finding the perfect audio balance is a make-or-break step. For a deeper dive, you can learn more about how to use audio in video in our dedicated guide.
The Impact of Sound Effects
Never underestimate the power of those little audio cues. Simple sound effects—like a subtle “swoosh” for a transition, a “click” when a button is pressed on screen, or a “ding” to highlight a key benefit—add a layer of polish that makes your video feel way more dynamic.
These audio elements aren’t just extras; they are crucial components that elevate the entire viewing experience. Skipping them is one of the most common mistakes people make when learning how to create explainer videos that truly resonate.
The production cost for product explainer videos can range from $900 to over $4,000 per minute, and audio quality is a huge factor in that price. By carefully selecting your voiceover, music, and sound effects, you’re ensuring your investment results in a professional asset that builds credibility and gets people to take action. You can explore more about video production costs on advids.co.
Common Explainer Video Questions
Even with a rock-solid plan, questions are bound to pop up when you’re getting your feet wet with explainer videos. Getting these common hurdles out of the way early will give you the confidence to create something that actually works. Let’s dig into a few of the questions we hear all the time.
What Is the Best Length for an Explainer Video?
This is a big one. You’re looking for that sweet spot, and from what we’ve seen, it’s a tight 60 to 90 seconds. This little window gives you just enough runway to hook the viewer, present their problem, show off your solution, and drive home the benefits—all before their attention starts to wander.
The data doesn’t lie: engagement drops off a cliff after the two-minute mark. And if you’re creating this for social media like Instagram or TikTok? Aiming for under 60 seconds is a non-negotiable. Brevity is your best friend here.
Do I Need Professional Software?
Not anymore, and that’s the great part. Sure, powerhouse tools like Adobe After Effects are incredible, but they come with a beast of a learning curve and a price tag to match. Thankfully, modern cloud-based platforms were built specifically for people who don’t have a degree in animation.
These tools offer a much friendlier path forward with things like:
- Pre-built templates you can make your own in minutes.
- Drag-and-drop interfaces that just make sense.
- Huge libraries of characters, props, and backgrounds.
This approach means you can get a professional-looking video across the finish line without the technical migraines.
Key Insight: Choosing the right tool isn’t about finding the one with the most bells and whistles. It’s about finding a workflow that lets you focus on telling a great story. The end goal is a high-quality video made efficiently.
How Do I Measure My Video’s Success?
Success is way more than just the view count. It all comes back to the goal you set in the planning phase. The trick is to track the metrics that actually tell you if you hit that goal.
We recommend focusing on these three main indicators:
- View-Through Rate: What percentage of people actually watched the whole thing? A high number here means your story was compelling from start to finish.
- Click-Through Rate (CTR): Of the people who watched, how many clicked on your call-to-action? This is a direct measure of how persuasive your video was.
- Conversion Rate: This is the big one. Of those who clicked, how many signed up for a trial or made a purchase? This tells you the real ROI of your efforts.
If you’re looking for more detailed guides, case studies, and other video creation tips, you can always find more on the v30.ai blog for video creation insights.
Ready to stop planning and start creating? With Wideo, you can bring your ideas to life in minutes with intuitive templates and a simple drag-and-drop editor. Start your free trial today!