A great voice over video is a powerful tool. It’s that perfect blend of compelling visuals and clear, guiding narration that can explain complex ideas, personalize your message, and truly engage an audience. But how do you go from a simple idea to a polished, professional video?
The process boils down to five key steps: planning your goal, writing your script, recording or generating your audio, syncing it with visuals, and finally, publishing and scaling your masterpiece. This guide will walk you through each stage, focusing not on technical editing, but on what makes a voice over video effective and why it’s so powerful for communication.
Why Voice Over Videos Are So Effective

Before diving into the “how,” let’s touch on the “why.” A voice over does more than just add sound—it adds a human layer of personality, authority, and clarity that visuals alone often can’t match. Think of it as a friendly guide walking your viewer through the content. This personal touch transforms a simple presentation into a compelling story, ensuring your key messages land perfectly.
A well-crafted voice over builds an immediate connection. It can break down complex information, inject emotion into a dry topic, and direct the viewer’s attention exactly where you want it. This is what makes the format so incredibly powerful for all sorts of content.
Where Voice Overs Make the Biggest Impact
This technique is a game-changer in a few specific areas where clarity and connection are everything.
- Product Explainer Videos: A clear, confident voice can walk a potential customer through features and benefits, answering questions before they’re even asked.
- Tutorials and How-To Guides: Narration is crucial for breaking down steps. It provides context that on-screen text can’t, making instructions far easier to follow.
- Employee Onboarding and Training: Voice overs help create a consistent, personal training experience. New hires feel guided by a real person, not just a slideshow.
- Customer Success Stories: A narrator can weave together testimonials and data into a powerful, cohesive narrative that adds a professional polish to customer stories.
In fact, understanding why voice overs work so well might even get you thinking about how to start a faceless YouTube channel, a massively popular format that leans heavily on this very technique.
The real magic of a voice over is its ability to turn passive viewing into active listening. It guides the audience’s journey, making your message far more memorable and persuasive.
Ultimately, learning to create a voice over video isn’t just a technical skill—it’s a strategic advantage. It lets you communicate more effectively, personalize your message at scale, and build a stronger relationship with your audience, one clear sentence at a time.
Step 1: Plan for Impact
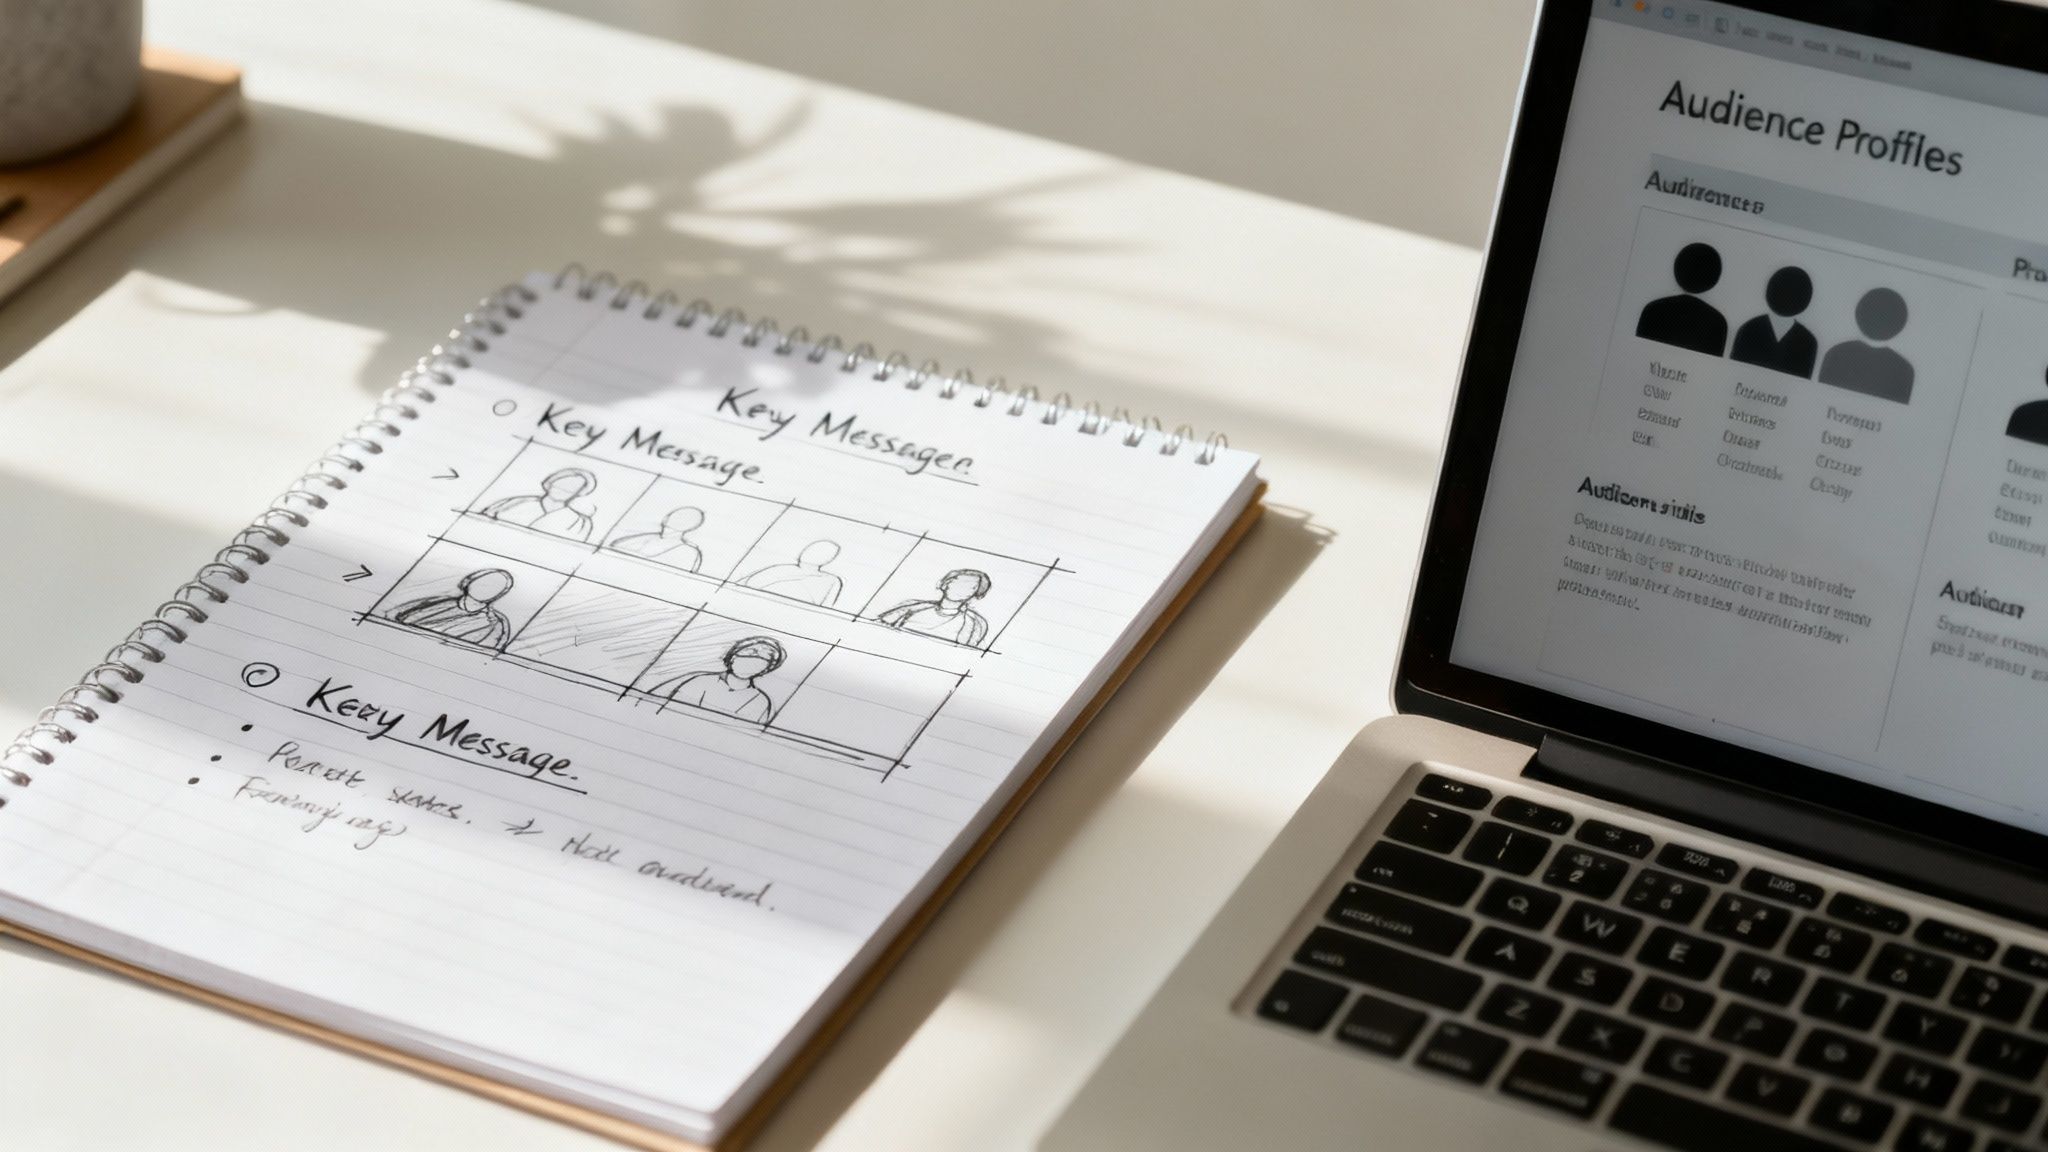
A great voice over video doesn’t just happen. It all starts with a solid plan, long before you ever hit the record button. Think of this stage as your blueprint—it ensures every word you speak and every visual you show has a clear purpose. Before you even think about writing a script, stop and ask yourself: what is the single most important thing I want my viewer to do, think, or feel after watching this?
Define Your Audience, Purpose, and Tone
That clarity is everything. An internal training video has a completely different goal than a punchy social media ad. To build out your video’s blueprint, start by answering these key questions:
- Who is my audience? Are they experts or beginners? What do they care about?
- What is my purpose? Am I trying to educate, persuade, entertain, or onboard?
- What is the key takeaway? If they only remember one thing, what should it be?
- What is the right tone? Should it be authoritative and expert, or friendly and empathetic?
For example, a video explaining a new API to developers can be technical and direct. But if you’re presenting the same product to executives, you’ll want to keep it high-level, concise, and focused on business benefits. Taking the time to answer these questions helps you avoid creating a generic video that connects with no one.
This early marriage of message and visuals is the secret sauce for a coherent video. It guarantees your narration and the on-screen action are working together, reinforcing the same idea and creating a much stronger impact.
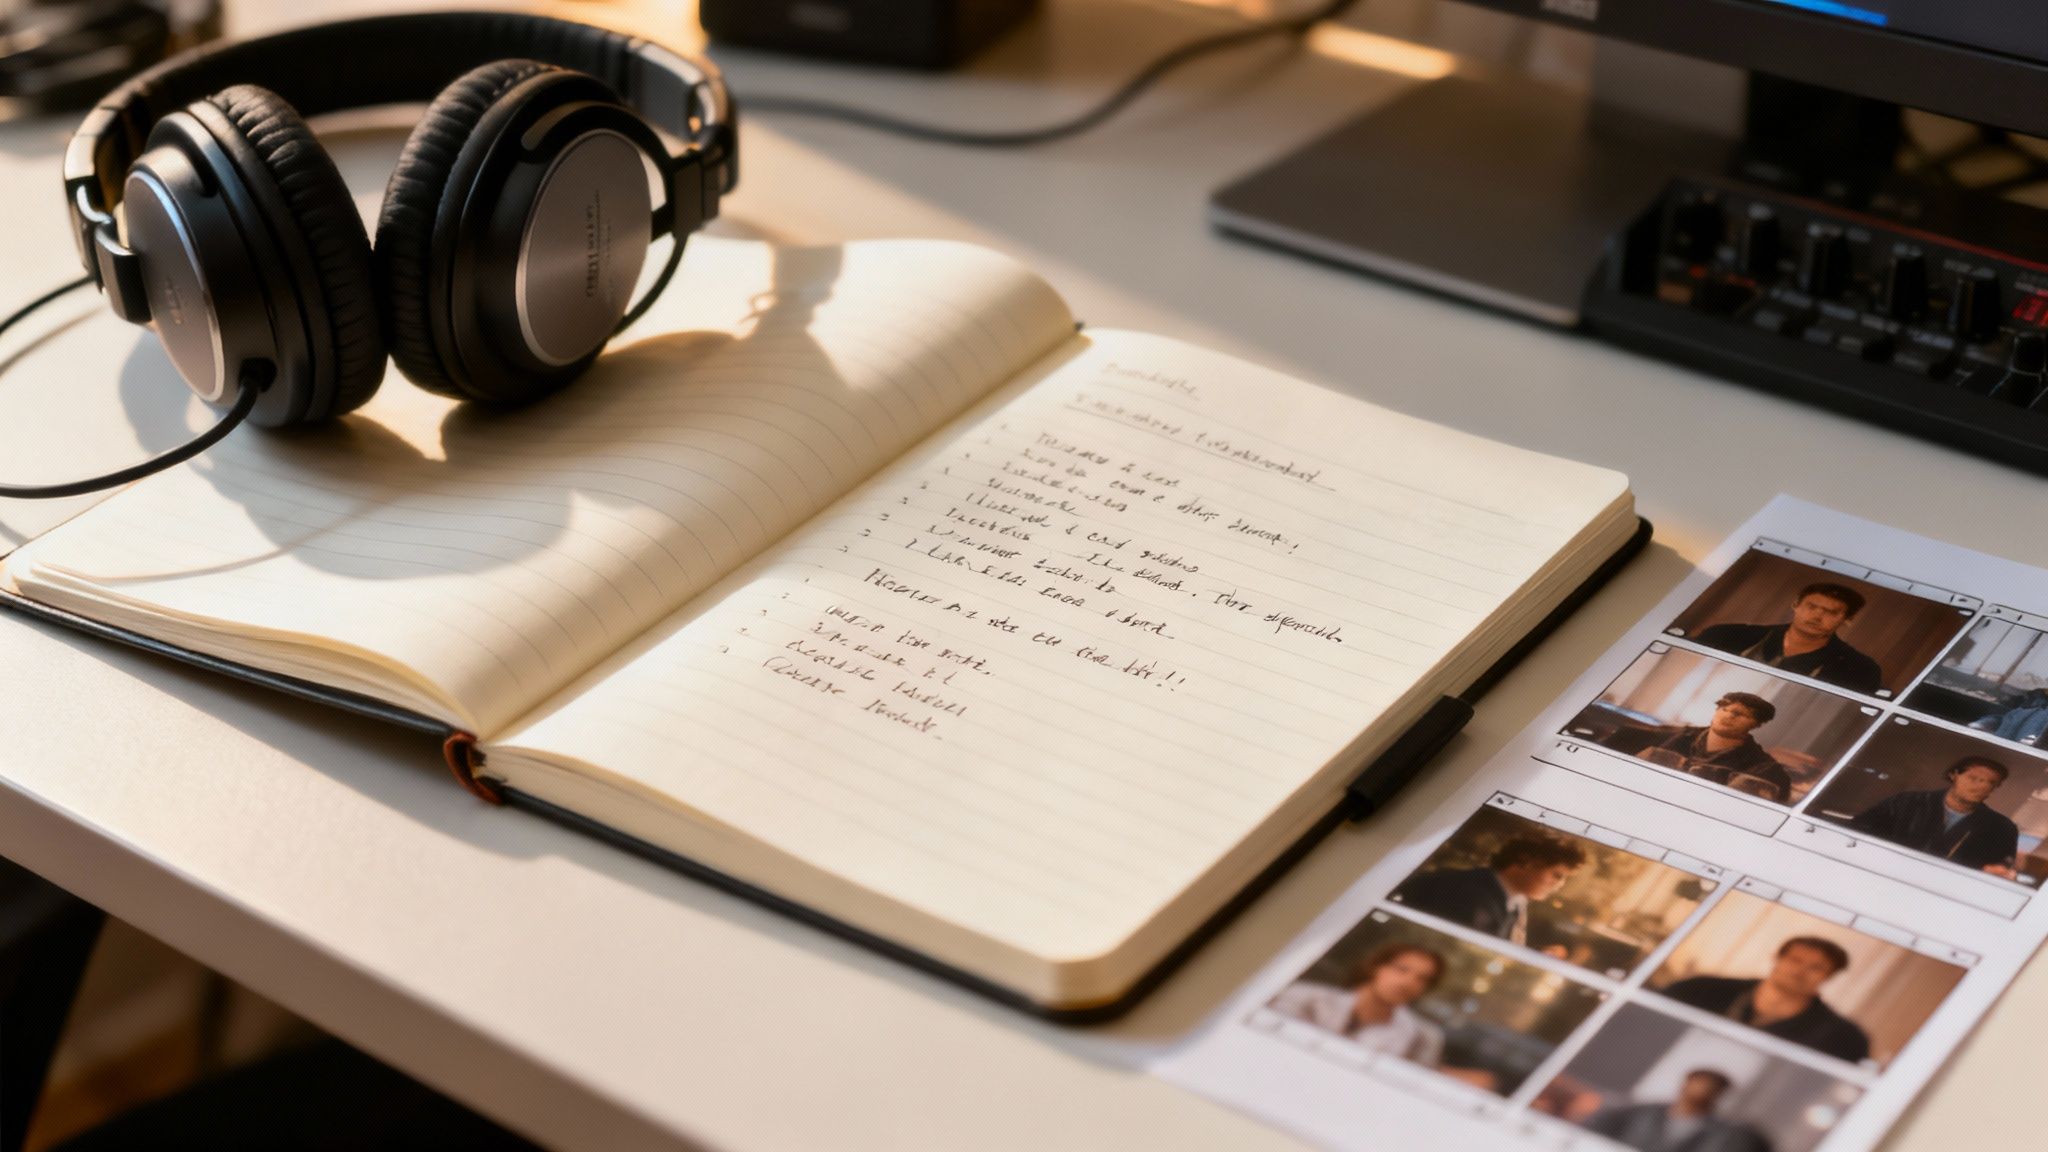
With a clear goal and audience in mind, you can begin to map out your key messages and visual ideas. This is a simple form of storyboarding that helps you spot potential problems early, saving you a ton of time and avoiding re-records later. For a deeper look, check out our guide on how to create a storyboard for your video.
Step 2: Write a Script That Connects
Your script is the soul of your voice over video. The biggest mistake creators make is writing for the eye instead of the ear. A script that looks great on paper can sound robotic and clunky when spoken aloud. The trick is to write like you talk, using simple words, shorter sentences, and a natural rhythm.
Craft a Conversational Flow
If you want to write a script that truly connects, you have to hear it. Read every line out loud. Does it flow? Are there any awkward phrases? This simple exercise is the fastest way to spot and fix parts that don’t sound human.
Here’s a quick before-and-after to show you what we mean:
- Before (Written for the eye): “Our innovative software solution leverages an advanced algorithm to facilitate the optimization of your team’s workflow and enhance overall productivity.”
- After (Written for the ear): “Our software helps your team work smarter. It simplifies your workflow, so you can get more done, faster.”
The second version is clear, direct, and sounds like something a real person would say. It gets rid of jargon and focuses on straightforward benefits.
Match Your Script to Visual Pacing
Beyond just the words you choose, timing is everything. A powerful voice over happens when the narration lines up perfectly with key visual moments. If you’re introducing a new feature, your voice should describe it the exact moment it appears on screen. This synchronization hammers your message home and makes it much easier for the audience to follow.
A great script doesn’t just inform; it guides the viewer’s attention. Think of your words as a spotlight, highlighting the most important parts of what’s happening on screen.
For a deeper dive into the scripting process, check out our complete guide on how to write an explainer video script. And if you’re struggling to grab attention from the start, you might want to try some hook generator tools to help craft those killer opening lines.
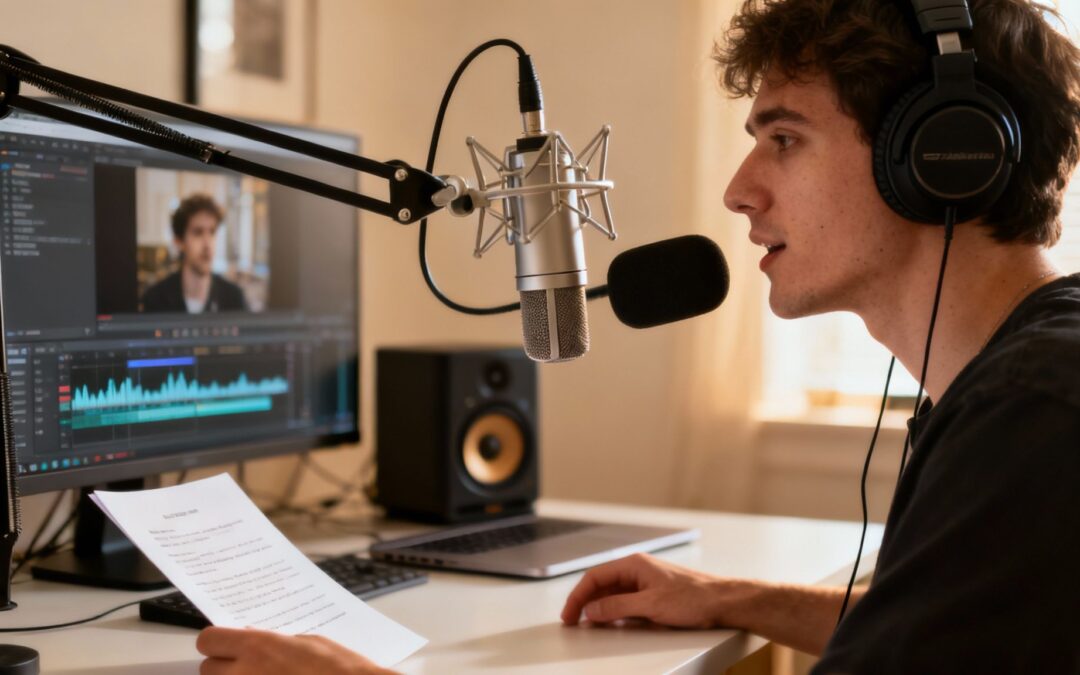
Step 3: Record or Generate Your Voice
With your script polished and ready, it’s time to decide how you’ll bring it to life with audio. The quality and style of your voice over will completely shape how your audience connects with your message. You have two main paths: recording your own voice or using technology to generate one.
The Personal Touch: Record Your Own Voice
Recording your own voice is often the most direct way to inject personality and authenticity into your video. If you’re the face of your brand or an educator building rapport, your voice is a powerful tool for establishing trust. You don’t need a fancy studio; a decent USB microphone and a quiet space are often all you need for professional-sounding audio.
To get clean audio, follow these simple tips:
- Find a Quiet Space: Record in a smaller room with soft surfaces like carpets or curtains to absorb sound and reduce echo.
- Speak Clearly and Consistently: Aim for a steady, deliberate pace, slightly slower than your normal conversational speed.
- Do a Test Run: Always record a few sentences and listen back with headphones to catch any issues with volume or background noise.
Scalable Solutions: Use Text-to-Speech Tools
While recording yourself is great for authenticity, it isn’t always practical, especially when producing content at scale. This is where AI-powered tools become a game-changer. Modern text-to-speech (TTS) has evolved lightyears beyond robotic voices. Today’s platforms offer an incredible range of lifelike voices, accents, and languages, letting you create professional narration in minutes.
Using a text-to-speech generator takes variables like recording quality and vocal fatigue out of the equation. You get a perfectly consistent audio track every time, which is a huge deal for brand consistency and large-scale video production.
For teams that need to create dozens or even hundreds of videos—think personalized sales outreach or a library of training modules—TTS is the undisputed winner for efficiency. Instead of blocking out hours to record, you can generate flawless audio with a few clicks. Platforms like Wideo’s text-to-speech solution are built for this, giving you a powerful way to produce high-quality voice overs on the spot and scale your production.
Step 4: Sync Your Voice with Video
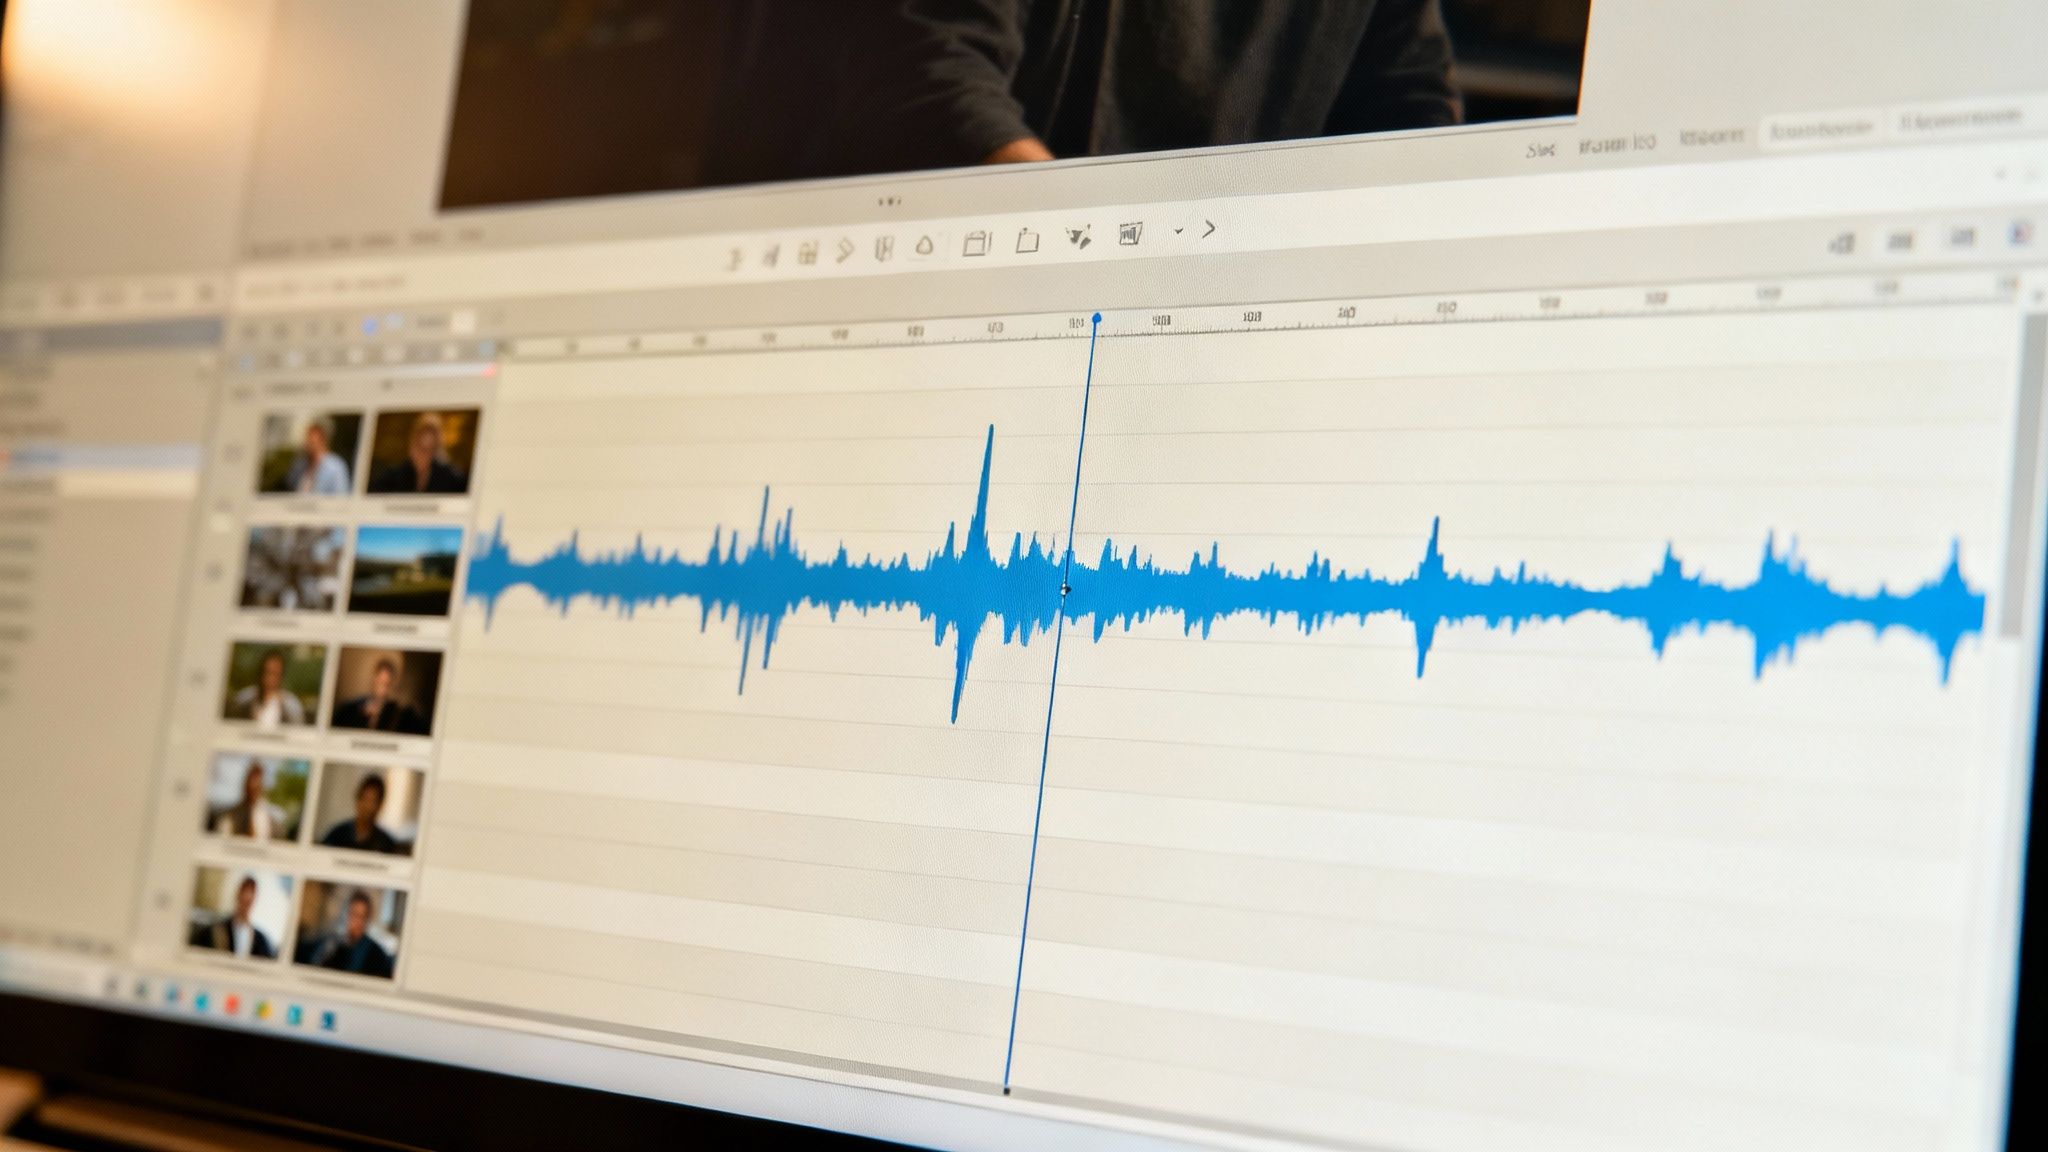
This is where the magic really happens. Getting the timing right between what your audience hears and what they see is what separates a decent video from a truly professional one. Your narration and your visuals are dance partners; they need to move in perfect harmony to maintain flow and create a seamless experience.
When your voice over mentions a specific feature, that’s the exact moment it should appear on screen. This alignment feels natural and helps viewers connect the dots without even thinking. When the timing is off, it’s jarring. The viewer’s brain has to work overtime to piece the story together, which can lead to confusion and a loss of interest.
The Power of the Pause
Sometimes, the most powerful tool in your audio toolkit is silence. A brief, strategic pause can have a massive impact.
- To Emphasize a Point: After delivering a key statistic or takeaway, pause for a second. That silence acts like a highlighter.
- To Let Information Sink In: If you’ve just shown a complex chart, give your audience a moment to absorb it before you continue.
- To Build Anticipation: A slight pause before a big reveal can create suspense, making what comes next feel more significant.
Syncing isn’t a technical chore; it’s a creative decision. The right timing turns your video from a simple explanation into a guided experience, ensuring your message is not only heard but also understood and remembered.
This strategic alignment is non-negotiable. Learning how to use audio in video is about more than just picking a background track; it’s about making your voice an essential part of the visual story.
Step 5: Publish & Scale Your Creation
You’ve created a fantastic voice over video. That’s a huge win. But the real goal isn’t just making one great video; it’s getting it in front of the right people and building a system that lets you create many.
Adapt Your Video for Different Channels
Dropping the same video everywhere is a recipe for disappointment. Smart distribution means reformatting your main video to feel native to each platform.
- Social Media: Create short, punchy clips (15-60 seconds) that pull out the most interesting point. Always add captions, as most users watch with the sound off.
- Email Newsletters: Use a GIF from a compelling part of the video and link to the full version. It’s far more engaging than a static image.
- Training and Onboarding: Use the original, long-form video. You can slice it into smaller modules inside your learning management system for easier consumption.
The proof is in the numbers. Videos on LinkedIn pull in three times more engagement than plain text posts. You can dig into more video marketing statistics to see just how big this shift is.
Build a Scalable Production Workflow
So, how do you produce high-quality voice over videos over and over again without burning out your team or budget? The secret is a scalable workflow built on templates and automation.
Scalability isn’t about working harder; it’s about building a smarter process. By automating repetitive tasks, you free up your team to focus on what truly matters: crafting a compelling story and connecting with your audience.
Imagine needing to create personalized onboarding videos for 100 new clients, each with their name and company. Doing that manually is a non-starter. This is where automation becomes your best friend. For teams that need to operate at that level, tools built for efficiency are a game-changer. For instance, Wideo’s video automation solution lets you create hundreds of personalized voice over videos from a single template by connecting to a data source. This is how you turn video creation from a creative bottleneck into a powerful, scalable engine for growth.
Got Questions? We’ve Got Answers.
We get a lot of the same questions about making voice-over videos, so we’ve put together some quick answers to help you get started on the right foot.
What’s the best software for creating a voice-over video?
Honestly, the “best” software really comes down to what you’re trying to accomplish.
If you’re just making a one-off video for fun, a simple editor like CapCut or iMovie can definitely get the job done. No frills, but they work.
But for marketers, educators, or any professional who needs to produce high-quality videos consistently, dedicated platforms are a game-changer. You’ll want a tool that bundles video creation with more advanced features like text-to-speech and automation. It creates a much smoother, faster, and more powerful workflow.
How long should my voice-over video be?
This is all about matching your video to its home and its purpose. Where is it going to live, and what do you need it to do?
If you’re posting on social media channels like Instagram or TikTok, you’ve got to be quick. Aim for under 60 seconds to grab and hold onto that fleeting attention.
For more detailed content, like a product explainer or a training tutorial, you have a bit more breathing room. The sweet spot is usually between 2-3 minutes.
The golden rule? Keep your video as tight as possible without sacrificing value. If a point doesn’t serve the main goal, cut it.
Is it okay to use music in a voice-over video?
Yes, absolutely—but you have to be smart about it. A subtle background track can do wonders for setting the mood and giving your video that polished, professional feel.
The key is balance. The music should always be quiet enough that it never, ever competes with your narration. Your voice-over is the star of the show; make sure it’s always the clearest and most prominent sound in the mix.
Ready to create polished voice-over videos without the headache? Wideo gives you all the tools you need in one place, from an intuitive editor to powerful text-to-speech and automation features. Start creating for free today and see just how simple it can be to bring your stories to life.